
Shopify Sync User Guide
This comprehensive guide explains how to use the nexce.io Shopify Sync tool to connect and configure data sources, create synchronization connections, monitor history, and perform real-time synchronization.


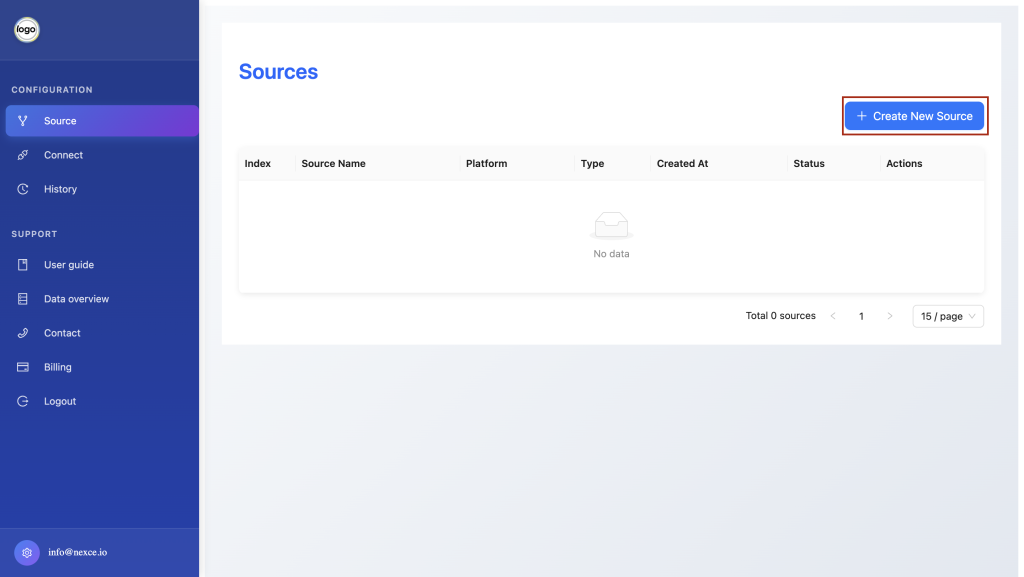
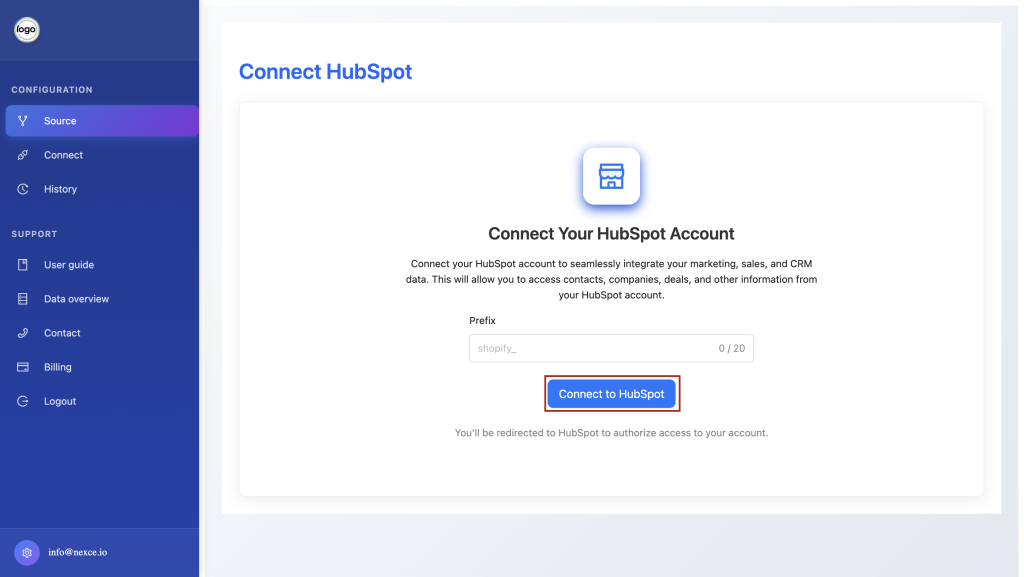
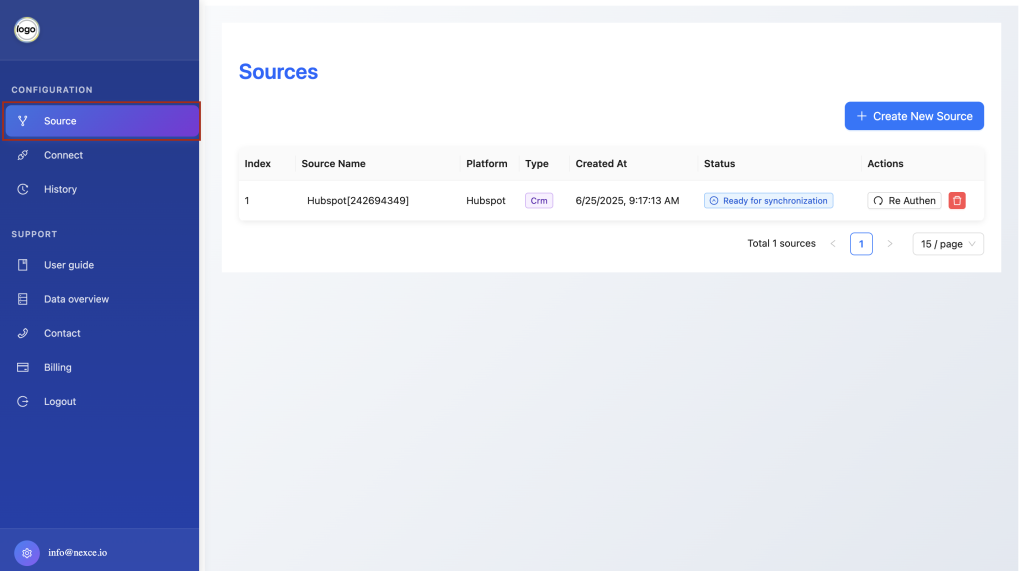
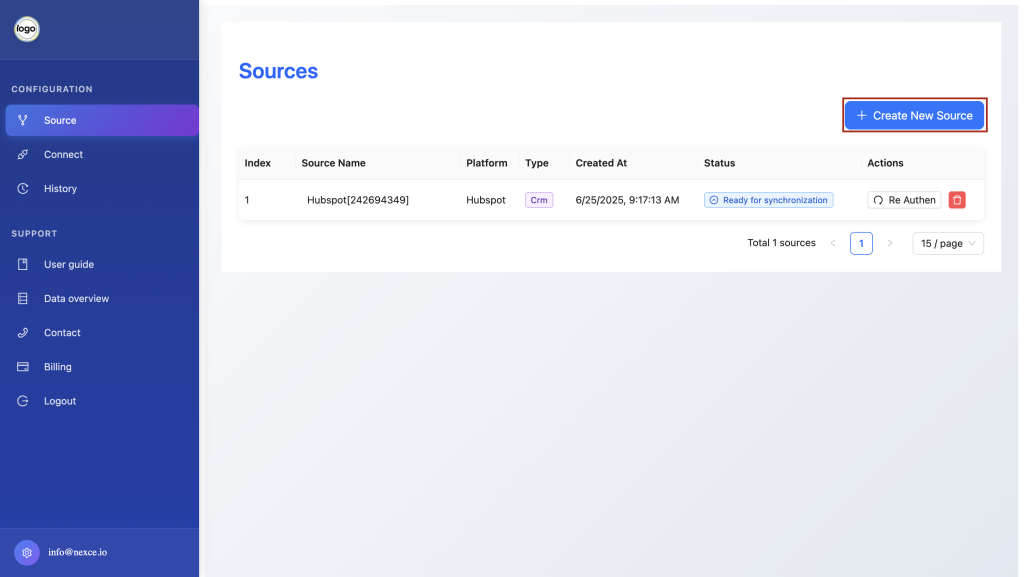
In the left-hand menu, click Source.

Click Create New Source.
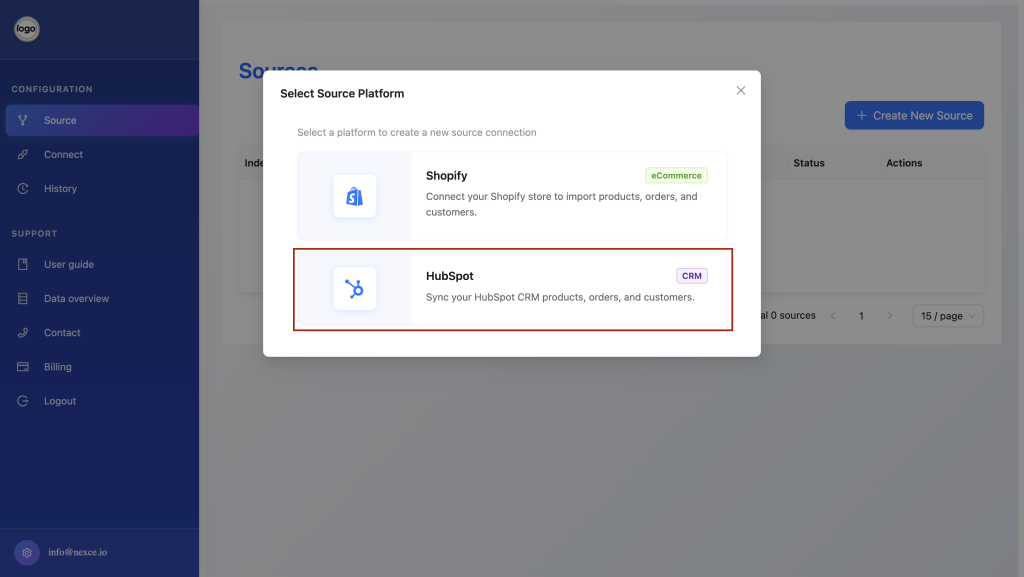
Choose HubSpot from the list.
(Optional): Enter a Prefix to namespace your data.
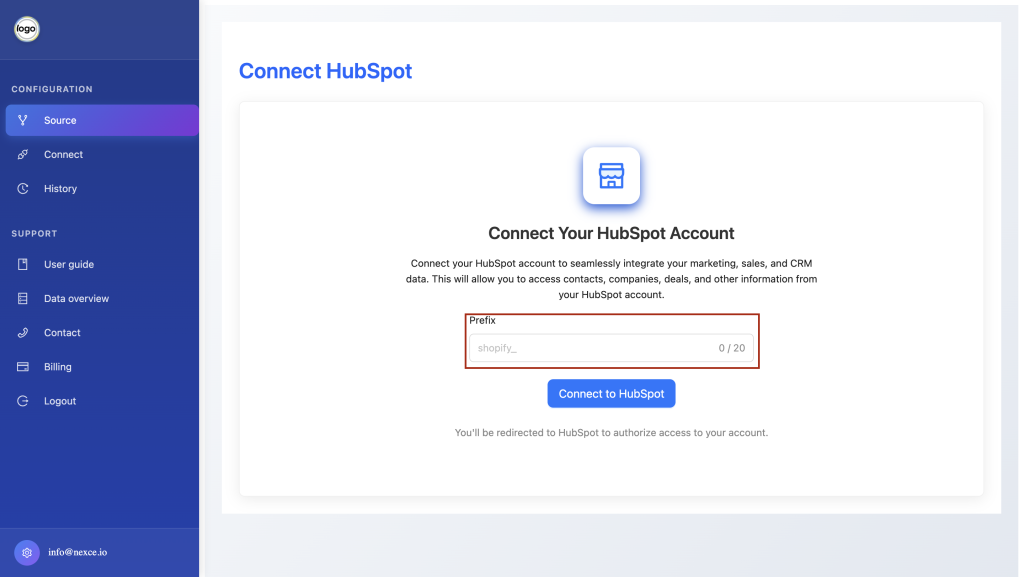
Click Connect to HubSpot.
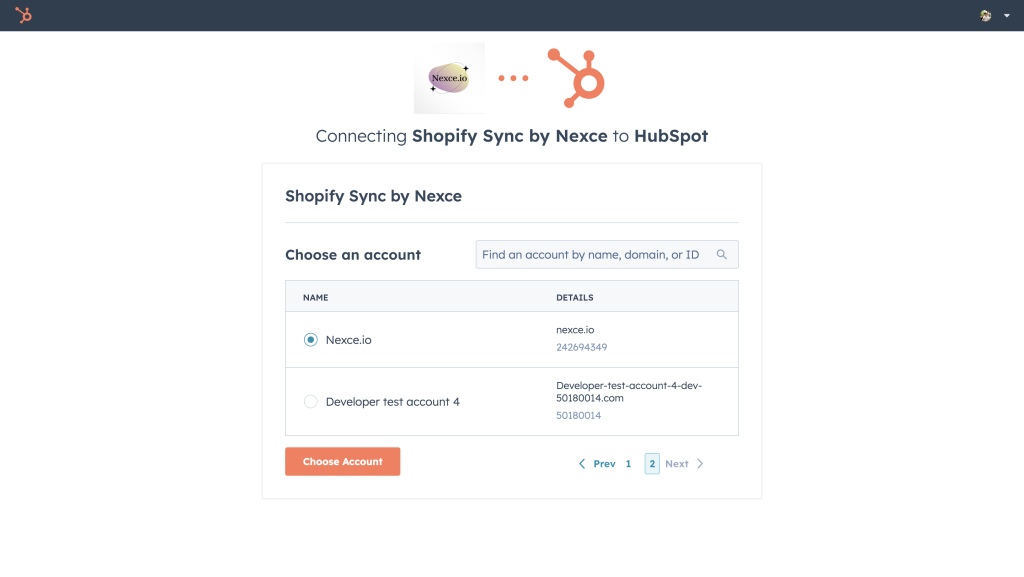
In the HubSpot popup, select the account you wish to add.
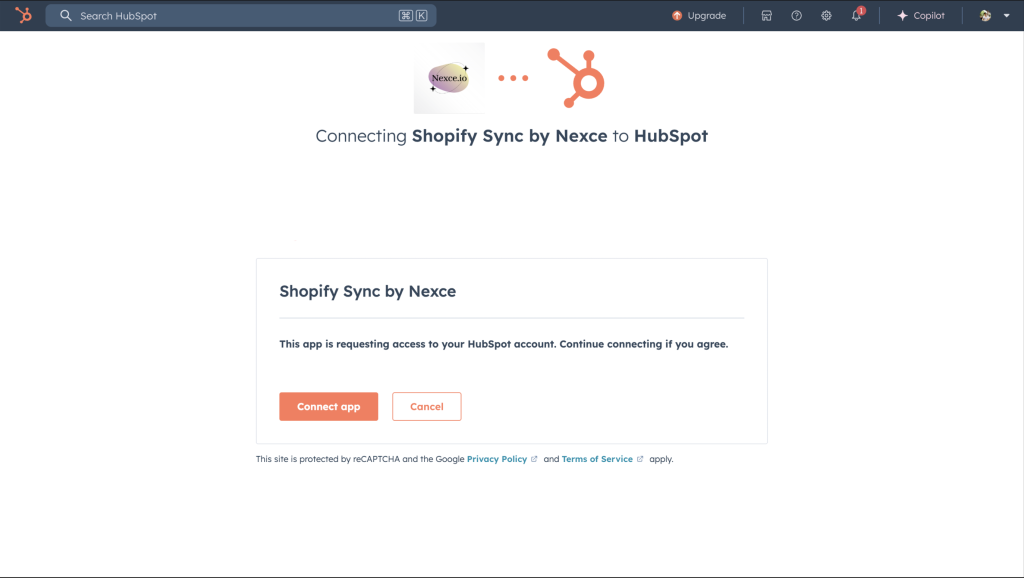
Click Connect App to complete setup.

Click Create New Source.
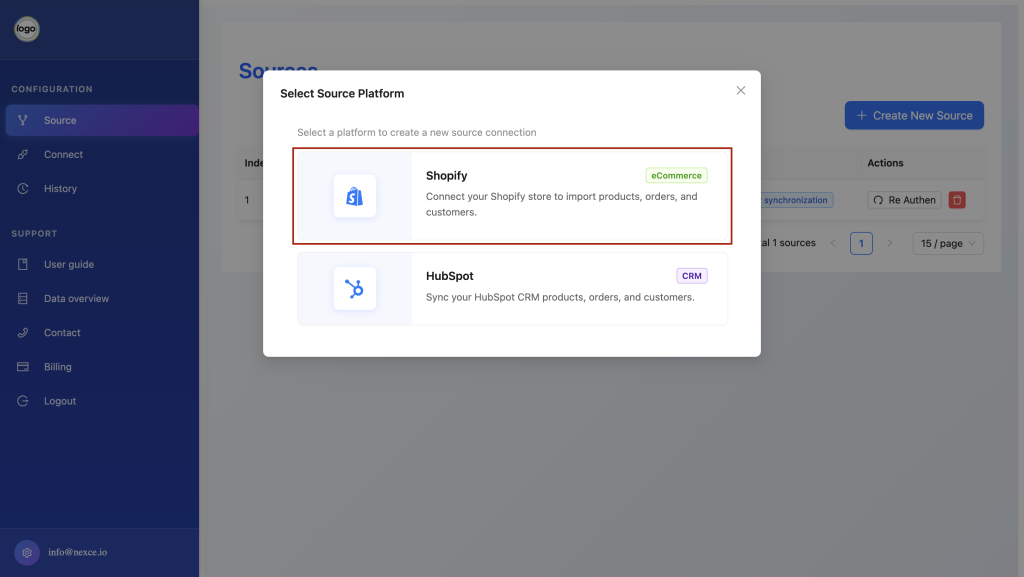
Choose Shopify from the list.
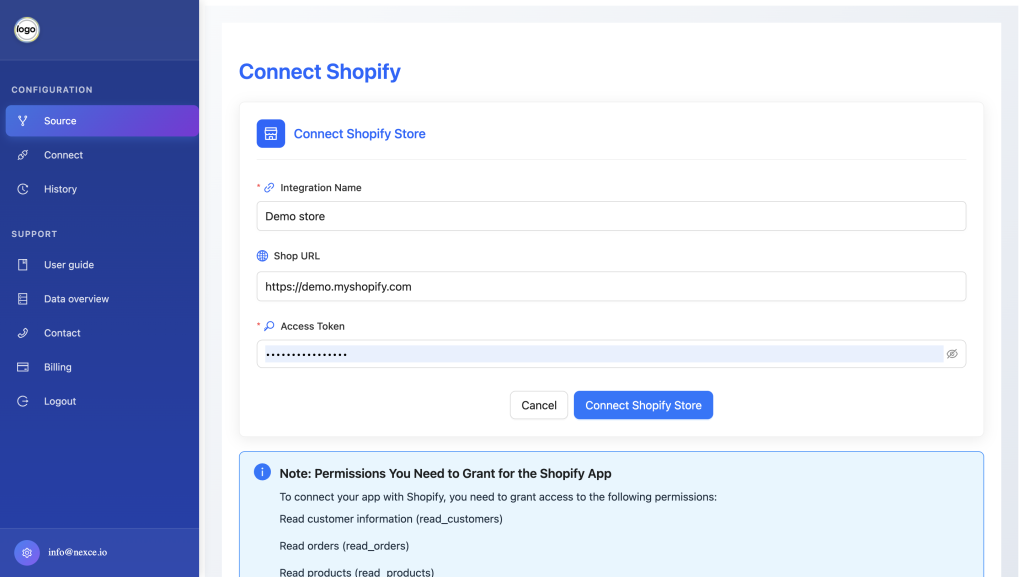
Enter your Shopify Store URL and Access Token and Integration Name.
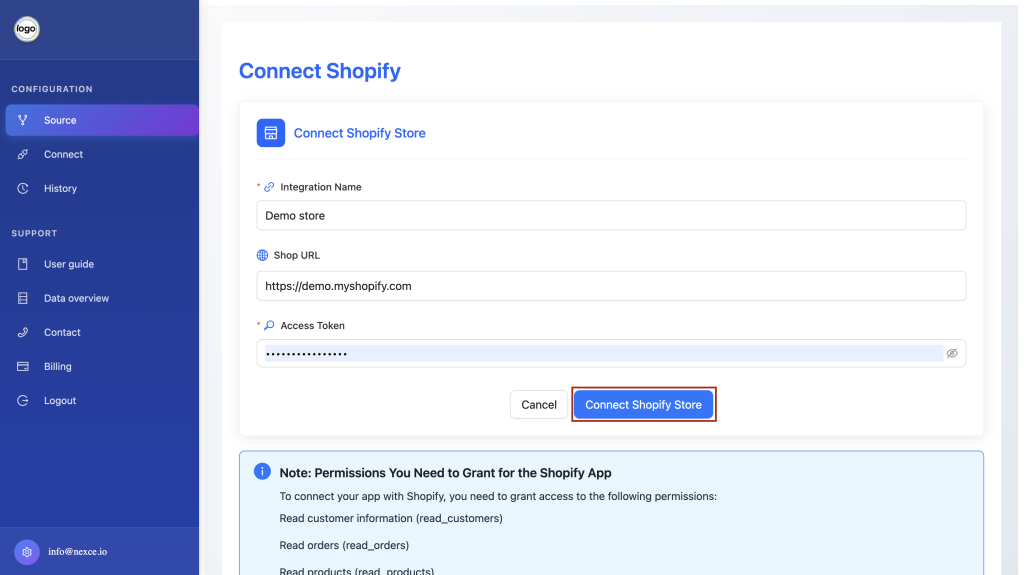
Click Connect to Shopify to authorize.

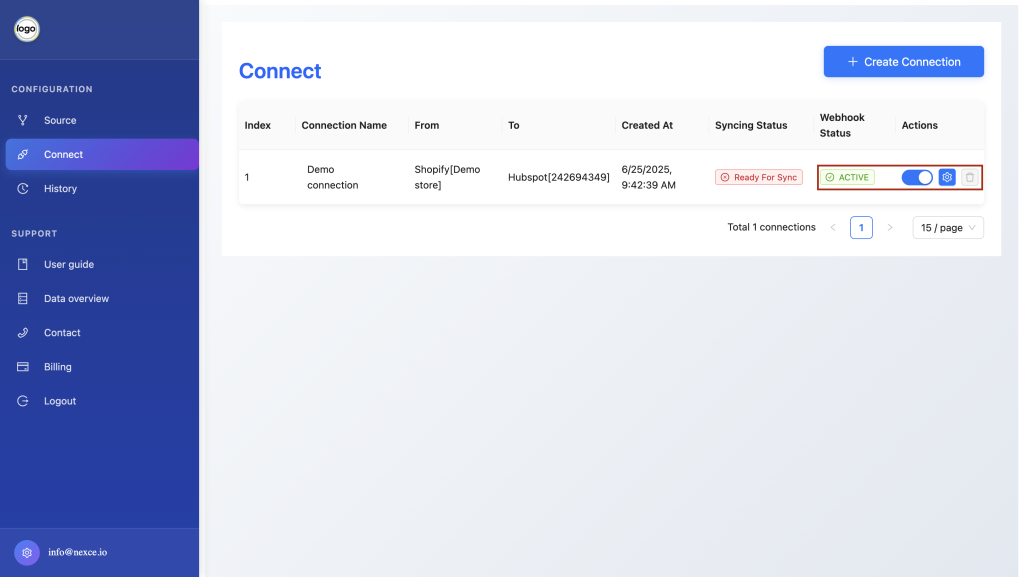
In the left-hand menu, click Connect.
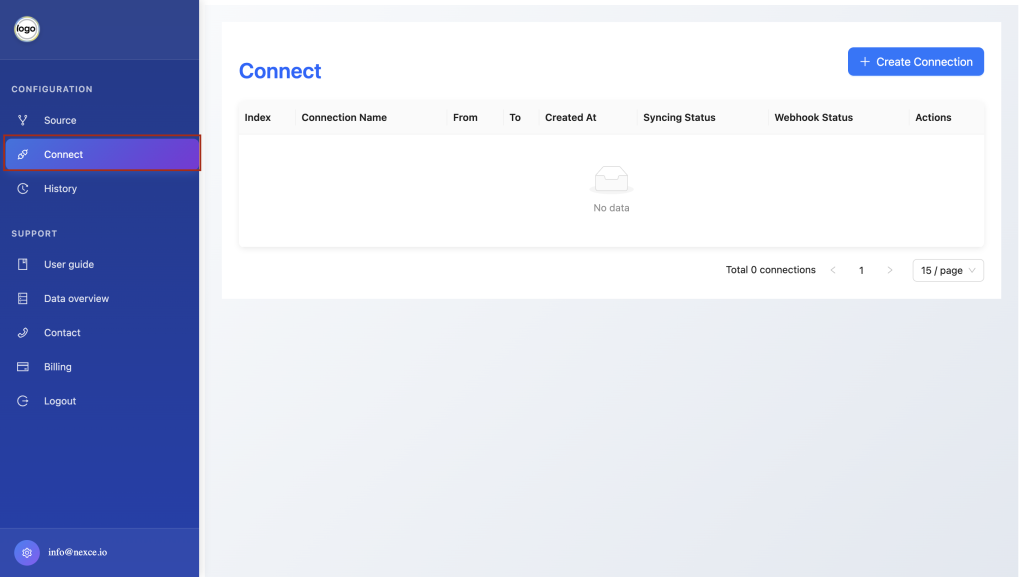
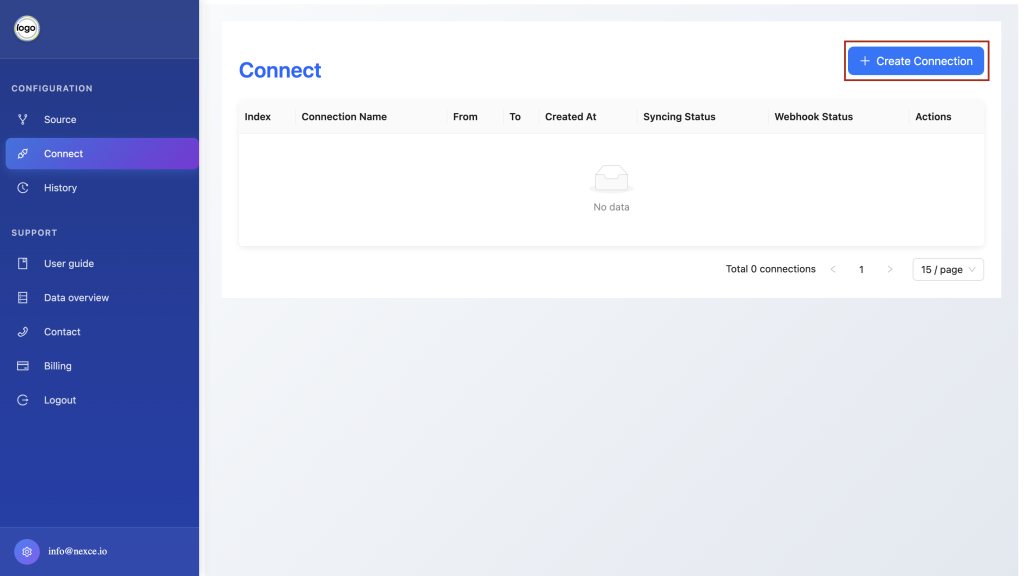
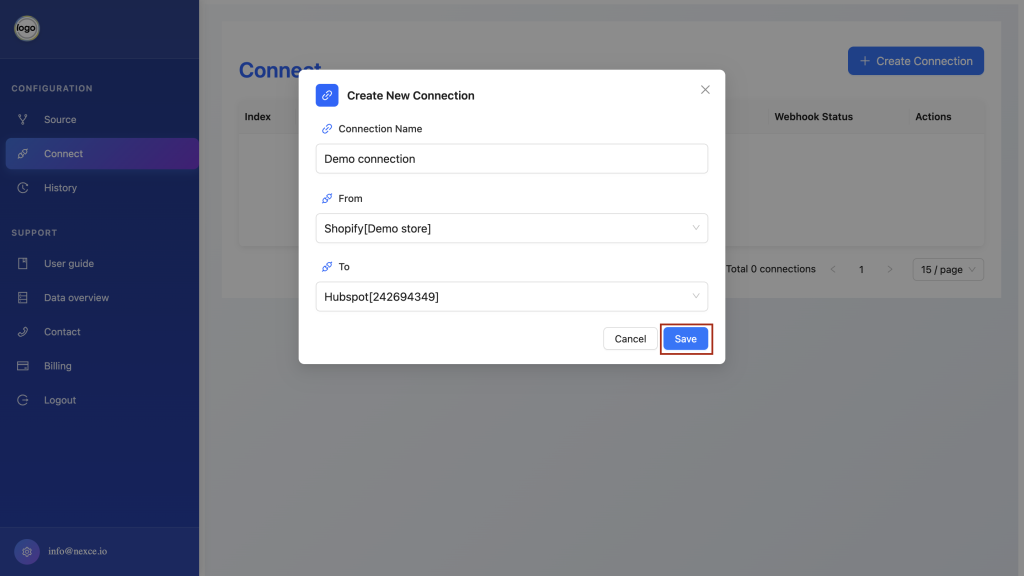
Click Create Connection.
From Source and Destination dropdowns, select the desired pairing (e.g., Shopify → HubSpot).
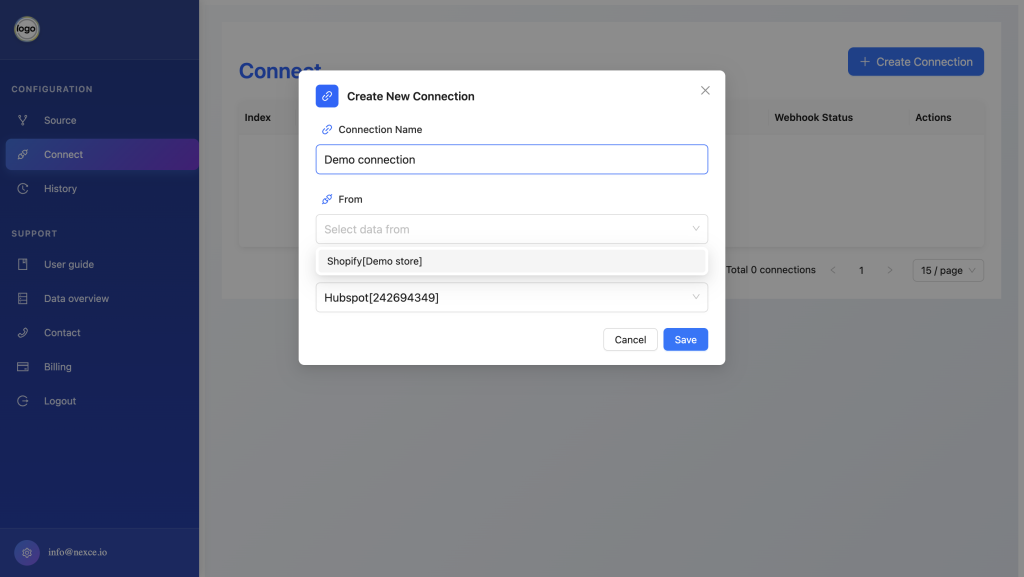
Enter a descriptive Name for this connection.
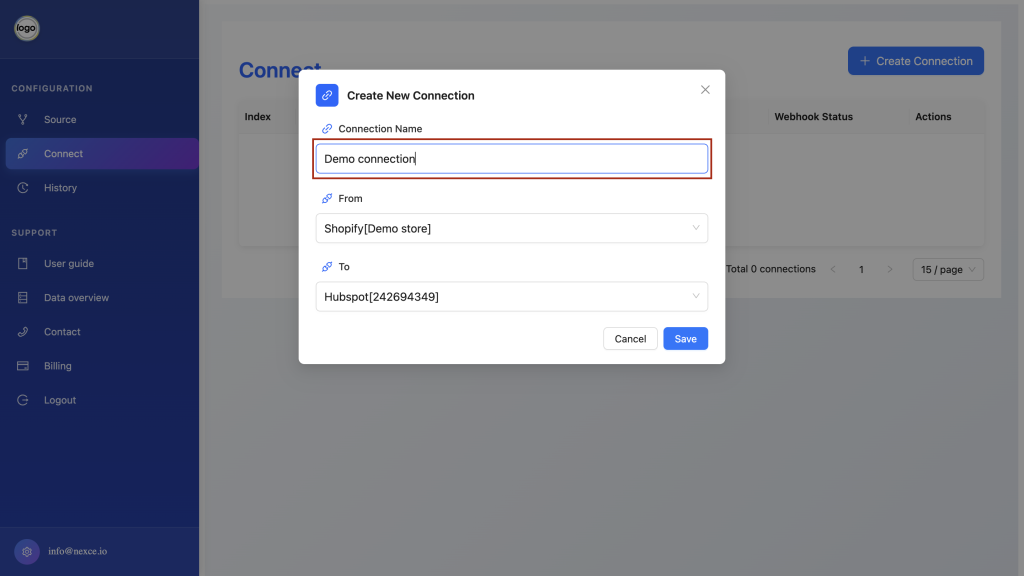
Click Save to finalize.

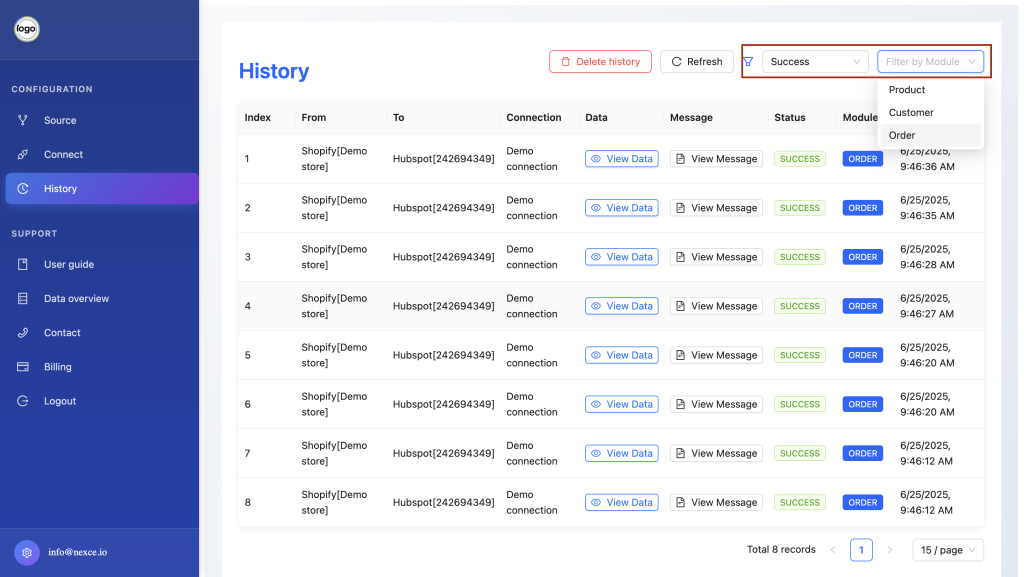
In the left-hand menu, click History.
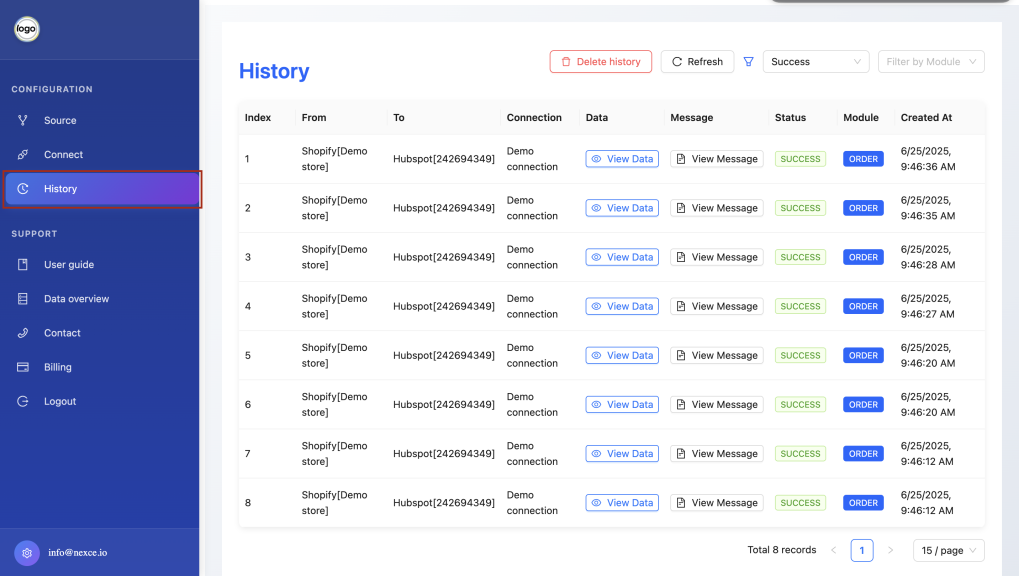
Use the filters (Status, Module, Date) to refine results.
Click Clear History to delete records if needed.

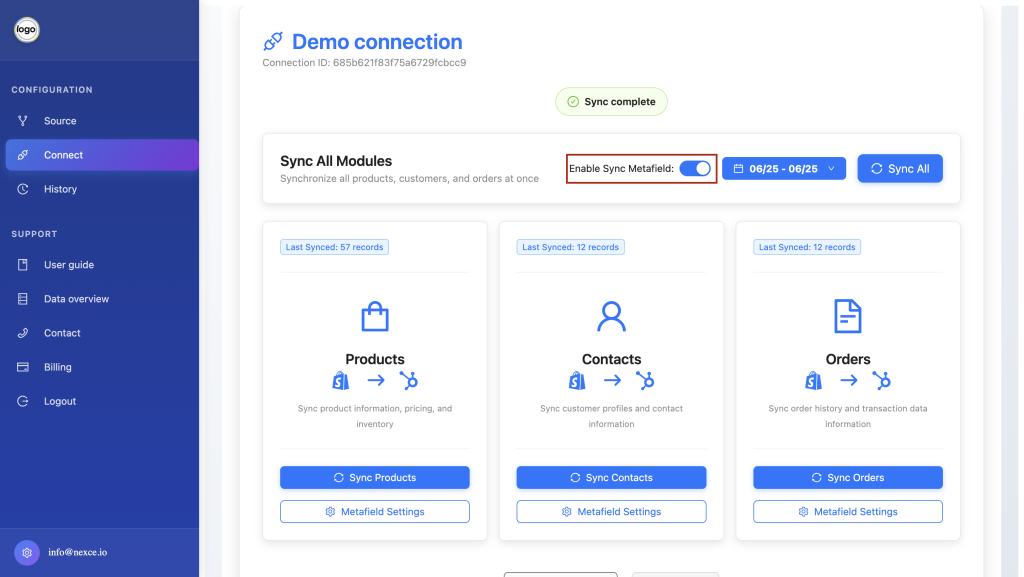
In the left-hand menu, click Connect.

Toggle Enable Real-Time Sync to On.
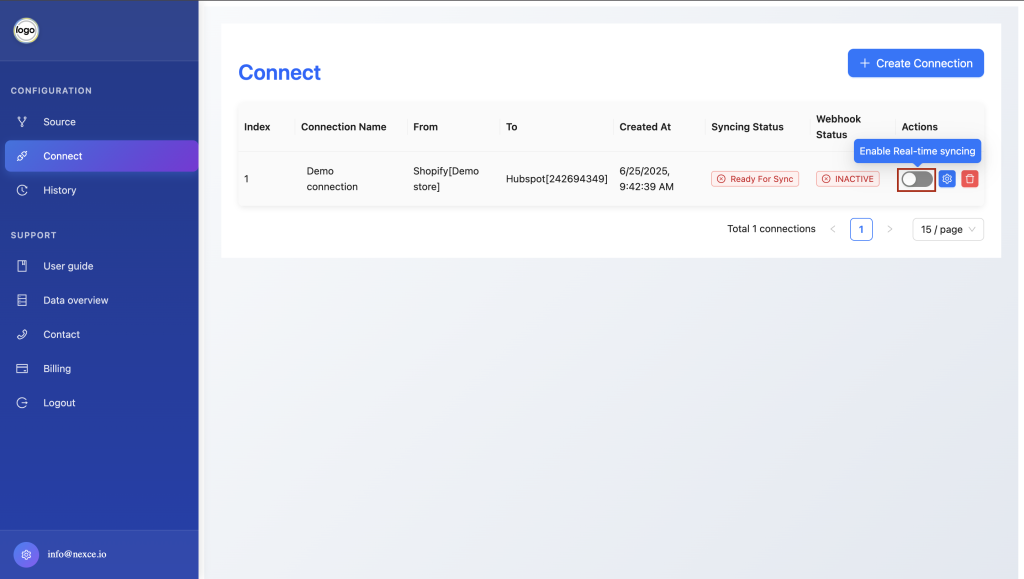
Changes in the source will now immediately propagate to the destination.

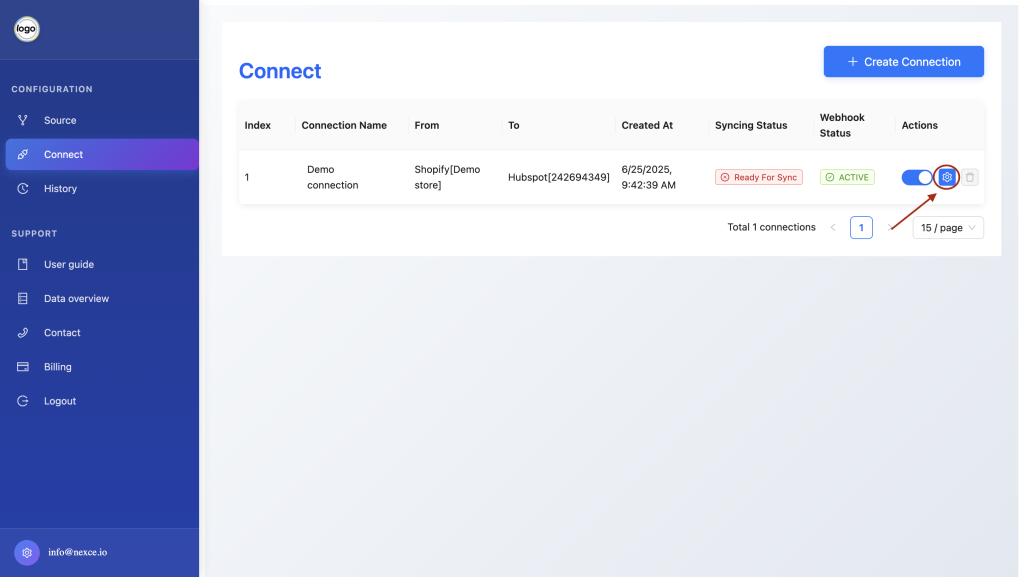
In Connect, click the Setting icon next to your connection.
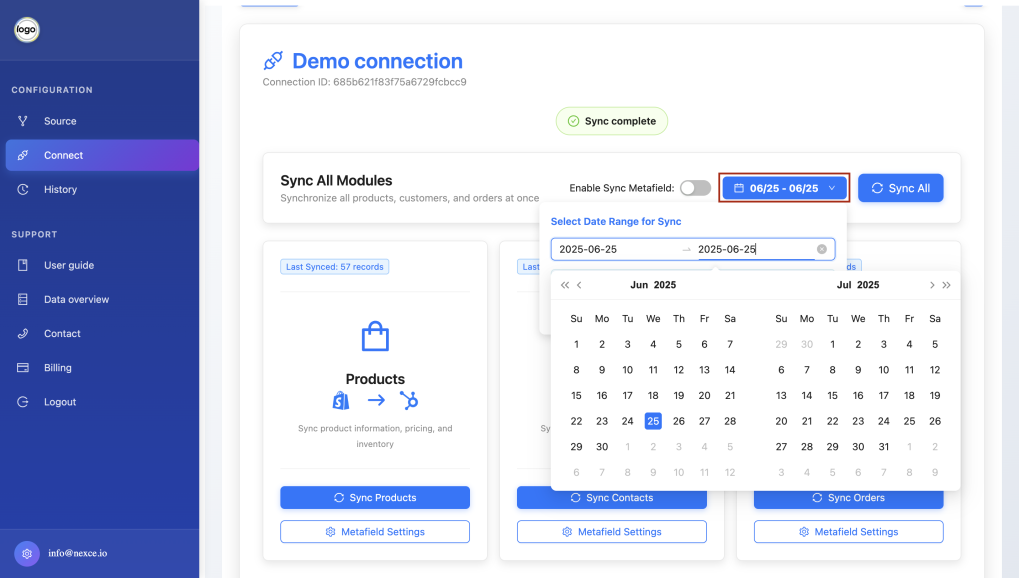
In Data Range, specify the start and end dates for data to migrate.
3
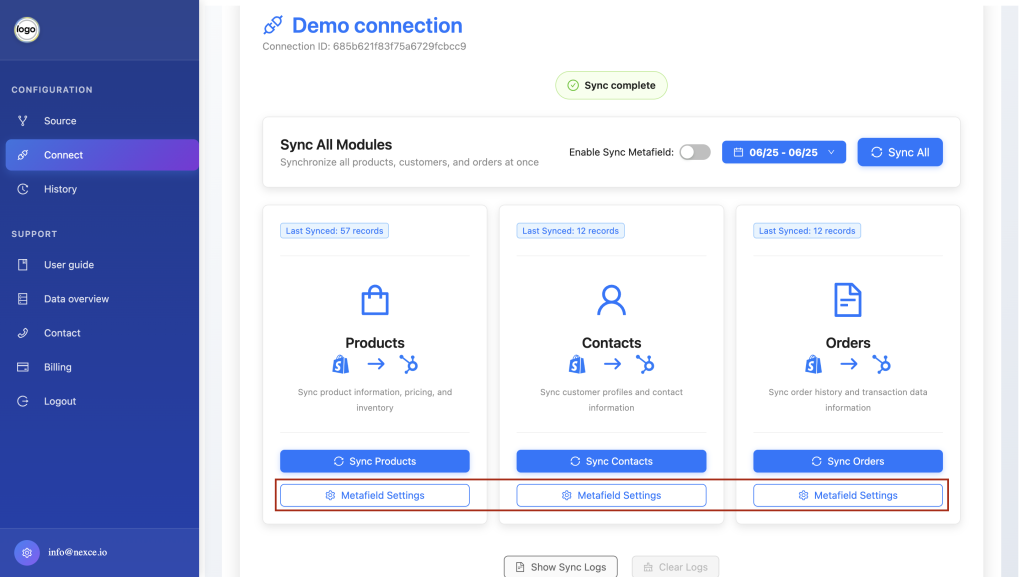
Under Sync Module, select one or more modules (Products, Contacts, Orders, or All).
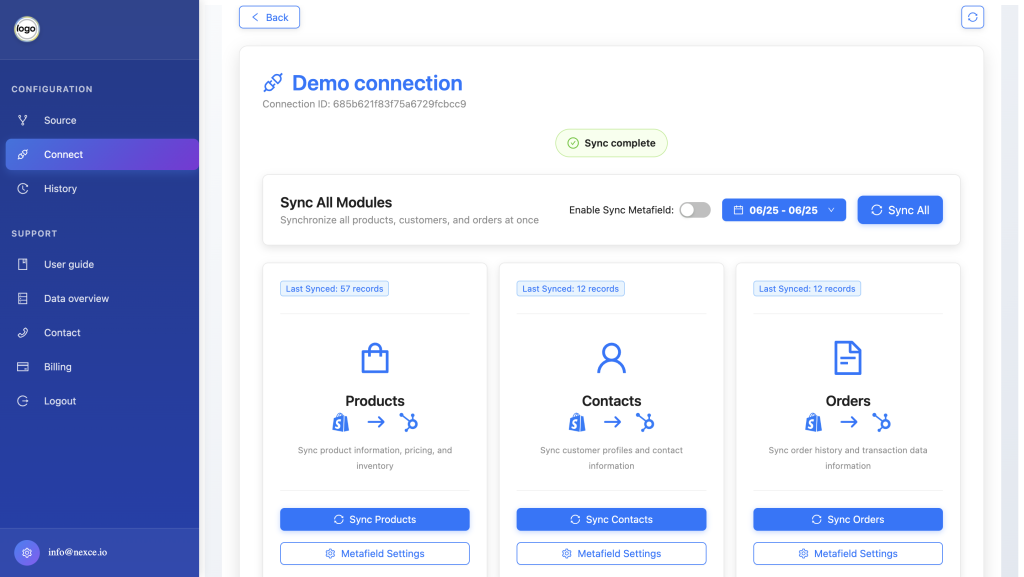
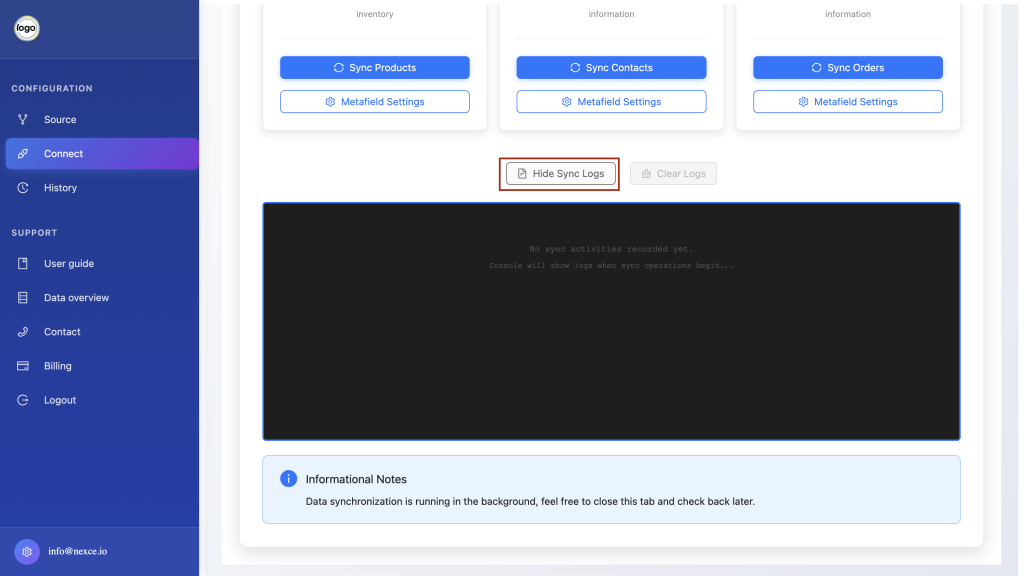
Click Start Migration and see Monitor progress in the Sync Log.

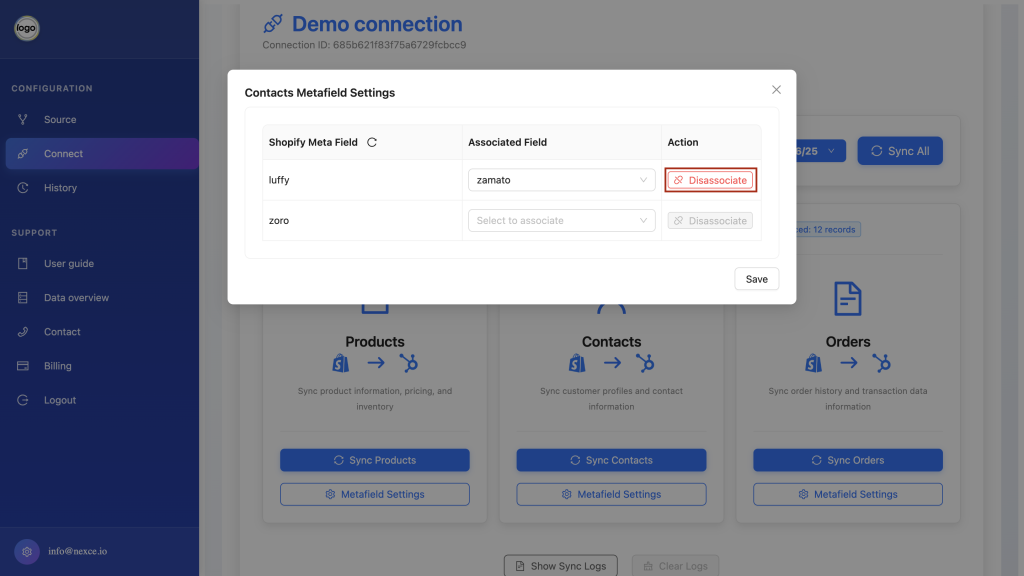
For each module, click Metafield Settings.
To associate an existing field, select it from the list.
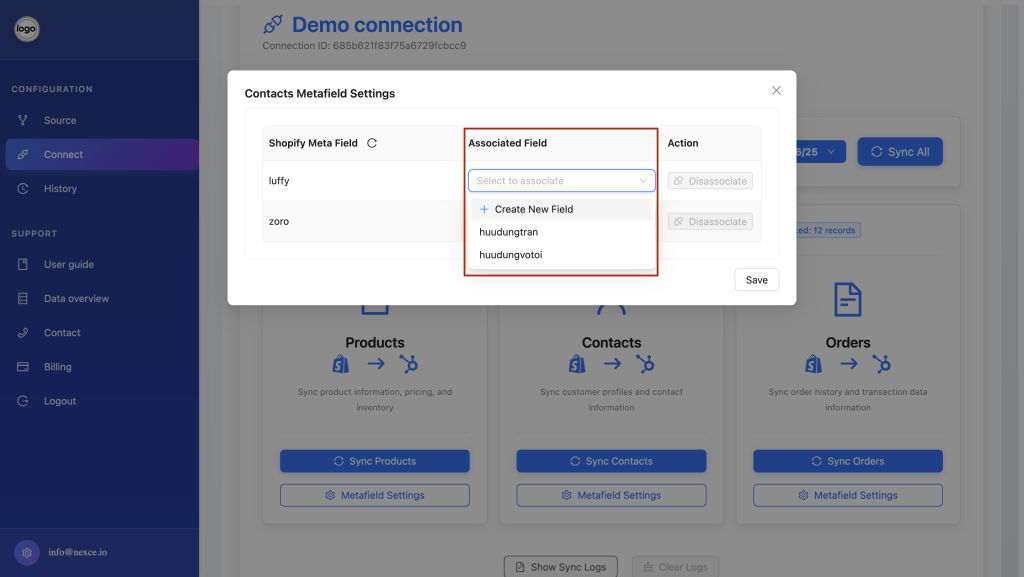
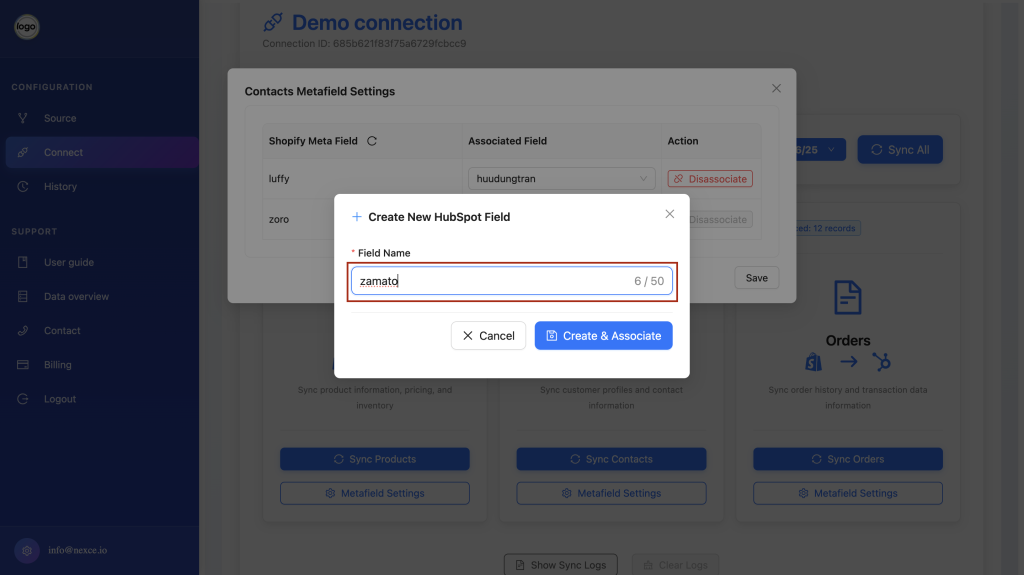
To create a new metafield:
• Click + Create New Field
• Enter the Field Name
• Click Create and Associate
To remove an association, click Disassociate.
Click Save to apply metafield settings.
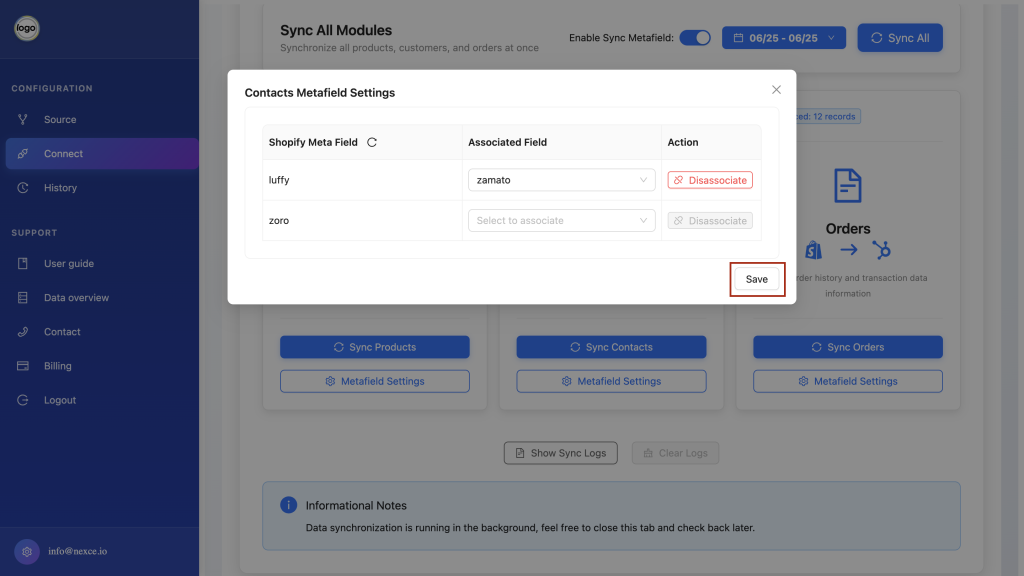
Enable Sync Metafields.